A dermatologist's guide to DIY dermaplaning for smooth, radiant skin.
A Florida dermatologist provides a comprehensive guide on dermaplaning and its advantages for skin care.
Dermaplaning has become a widely used skin care technique in the quest for glowing and soft skin.
The non-invasive exfoliation technique utilizes a sterile surgical blade to softly remove the upper layer of dead skin cells and fine facial hair, resulting in a revitalized complexion.
Many people are considering performing dermaplaning at home instead of seeking professional services.
A dermatologist from Florida provided a tutorial on dermaplaning, including how to perfect the technique at home.
- Understanding dermaplaning: What is it and why?
- DIY dermaplaning: Step-by-step guide
1. What is dermaplaning and why do people do it?
Dr. Eric Wilkerson, a dermatologist from Florida, stated to Planet Chronicle Digital that dermaplaning removes vellus hair, commonly known as "peach fuzz," through exfoliation, resulting in a smoother skin texture and enhancing the effectiveness of skin care products.
Wilkerson stated that dermaplaning is generally suitable for all skin types, but individuals prone to pigmentation issues should exercise caution. Aggressive or deep treatments can increase the risk of side effects.
This skin care treatment enhances skin texture by gently removing fine facial hair, resulting in a smoother skin surface.
The removal of dead cells and peach fuzz enhances the skin's ability to absorb skincare products, resulting in a brighter complexion.

2. Step-by-step guide to DIY dermaplaning
Performing dermaplaning at home is possible with the proper tools and precautions, although it is typically done by trained aestheticians in a professional setting.
- Gather supplies
- Prepare skin
- Hold the blade
- Stretch your skin
- Begin dermaplaning
- Care for your skin post-dermaplaning
1. Gather supplies
- Sterile dermaplaning blade
- Gentle cleanser
- Towel
- Hydrating toner
- Moisturizer
- Sunscreen
2. Prepare skin
Before undergoing dermaplaning, ensure your skin is clean and dry to create a clear canvas for the procedure.
Wilkerson emphasized the importance of using a gentle skin cleanser prior to dermaplaning, stating that this step ensures the skin is completely cleansed and free from impurities or makeup.
To ensure a smooth session, keep your hair tied back and away from your face.
Ensure the room is well-lit to create an accurate environment during the dermaplaning process.

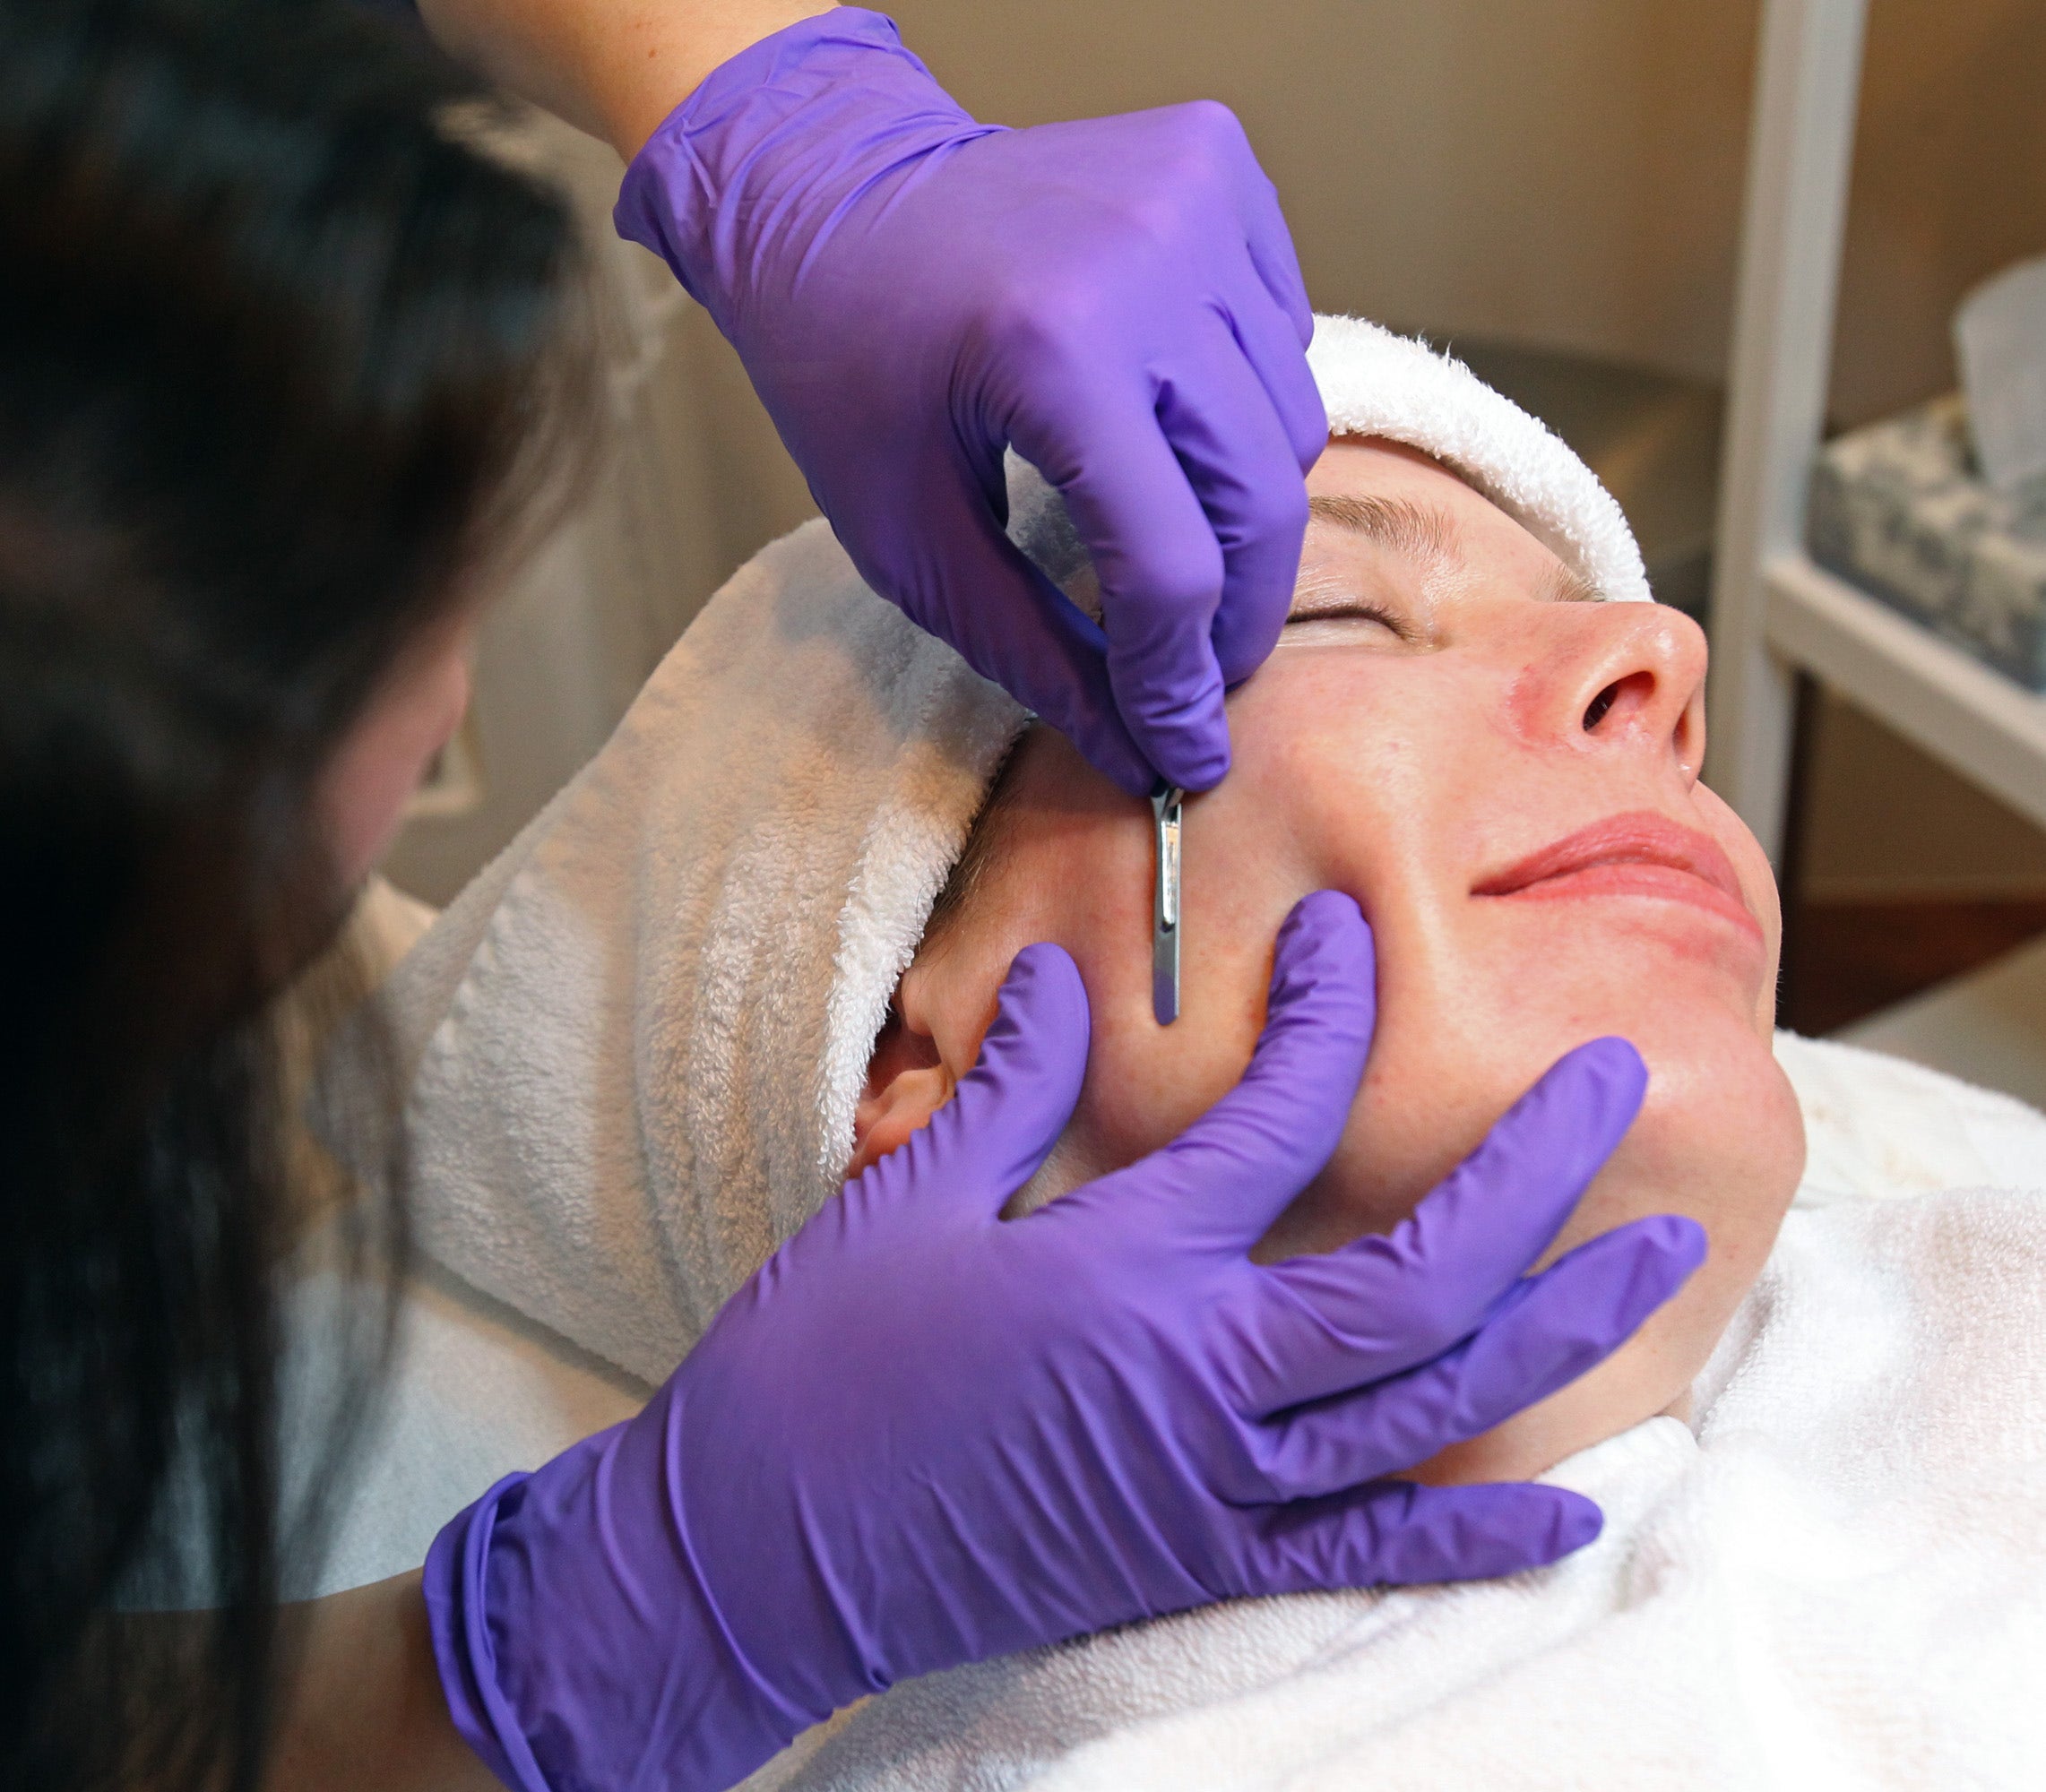
3. Hold the blade
To minimize the risk of infections or irritations, it's crucial to choose a blade that adheres to strict hygiene standards. The optimal angle for achieving the best results is 45 degrees when holding the blade against the surface you're working on.
Wilkerson stated that this angle ensures a smooth and controlled glide, removing dead skin cells and hair without causing any discomfort or harm to your skin.
4. Stretch your skin
Stretching the skin taut with your hand helps you achieve a smoother glide while dermaplaning, allowing for more control over the motion across your face's contours.
Dermaplaning not only removes dead skin cells and facial hair, but also ensures a safer and more comfortable experience.
5. Begin dermaplaning
Use short, gentle strokes to guide the blade downward, aligning with the natural contours of your face.
It's recommended to avoid sensitive areas around the eyes and nostrils, as well as regions with active acne or irritated skin, to minimize discomfort.
"Dermaplaning carries the risk of cuts, abrasions, scarring, or infection if the blade isn't sterile or the skin isn't adequately cleansed, as stated by Wilkerson."
6. Care for your skin post-dermaplaning
To optimize results and maintain skin health after a dermaplaning session, it's crucial to focus on post-care.
To prepare for a healthy and radiant complexion, start by cleansing your face to remove any remaining debris. Follow this with a hydrating toner to soothe the skin and restore its balance. Next, generously moisturize to provide essential nourishment. Since your skin is more sensitive after dermaplaning, finish the routine by applying a broad-spectrum sunscreen to protect it from potential sun damage.
Wilkerson advised against using retinol and retinoid products before dermaplaning, as they may cause irritation. It is also important to avoid exfoliators. Instead, use a gentle skin cleanser and prioritize hydration post-dermaplaning.
To maintain a healthy skin renewal cycle, it is recommended to limit dermaplaning to once a month.
Dr. Wilkerson explained that dermaplaning can improve skin texture and enhance overall glow, although the impact on lines, wrinkles, and scars may not be substantial. The effectiveness of dermaplaning varies from person to person and is influenced by the frequency of treatments.
To achieve a smooth and radiant complexion at home, it's important to be cautious, follow a step-by-step approach, and practice understanding the process.
For more Lifestyle articles, visit planetchronicle.net/lifestyle.
Lifestyle


You might also like
- Post-inauguration, the surprising truths about DC travel costs.
- Melania and Donald Trump celebrate their 20th wedding anniversary: View the images.
- John Schneider, known for his role in 'Dukes of Hazzard,' remains steadfast in his belief: "God has a plan."
- Notre Dame football coach and Catholic convert is 'not shy about' the importance of faith.
- Trump confidant and unofficial spiritual advisor: "God is granting America another opportunity"